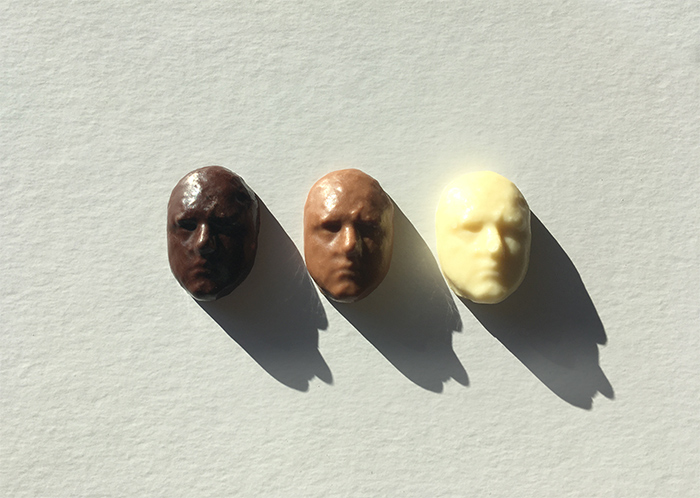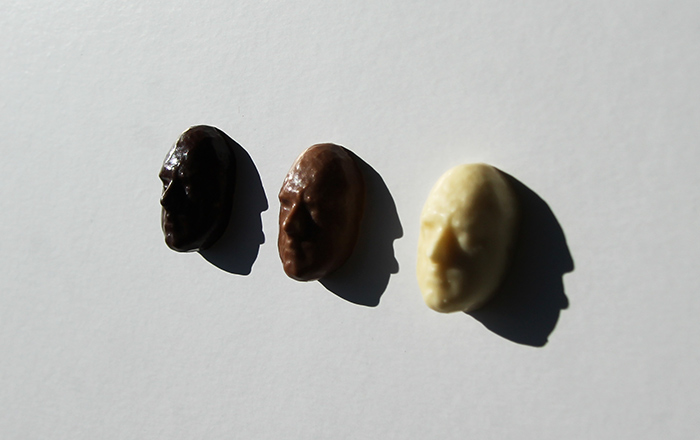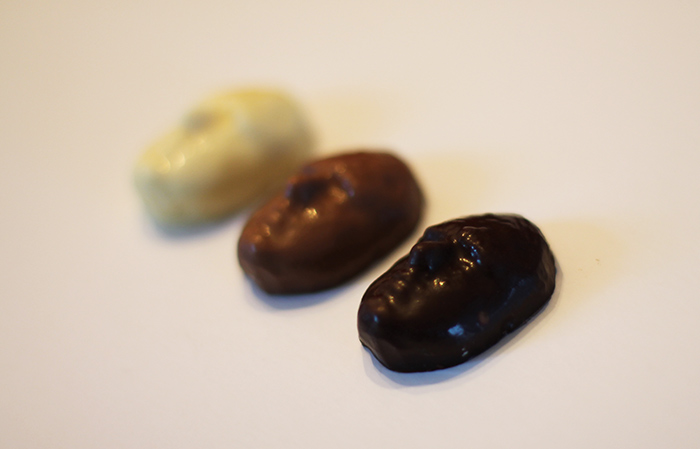
Custom Chocolate Faces
As a good Belgian abroad, I am spreading my cultural heritage in the form of home-made chocolates and pralines. Since we made 3D models of our faces in the past, I thought it would be a great idea to make chocolates in the shape of a face. From a 3D-print I made a chocolate mould and made these.
Ordering a custom polycarbonate chocoate mould would be quite expensive. Buying a chocolate 3d-printer was also too exepensive. So I decided to go for making a selfmade vacuum former to make a mould from the 3D-print.
I found this description to make a vacuum former here, but I had to make my 3d models from scratch because I could not print the .stl file of this website in one piece and the connector for the vacuum cleaner was not the right size. I decided to split the top in two parts and glue them together. You can find the 3d models (.stl files) here:
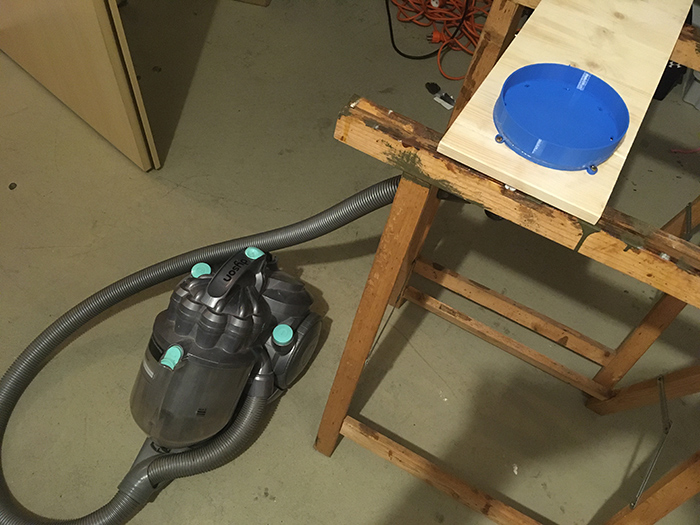
Vacuum forming set-up 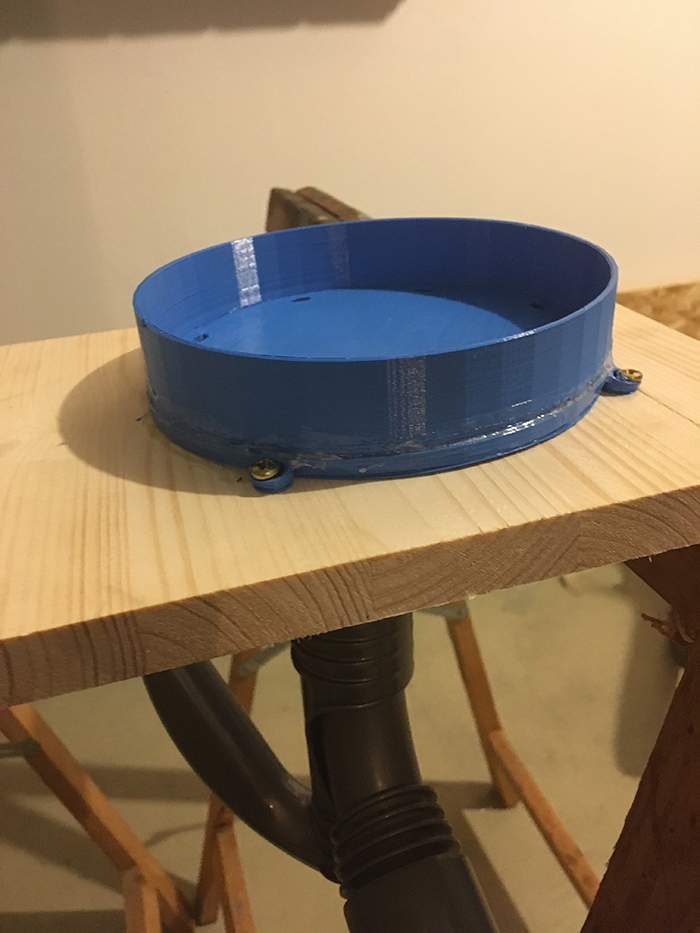
Vacuum forming set-up: the top part and bottom part screwed on the piece of wood and connected to the vacuum cleaner. 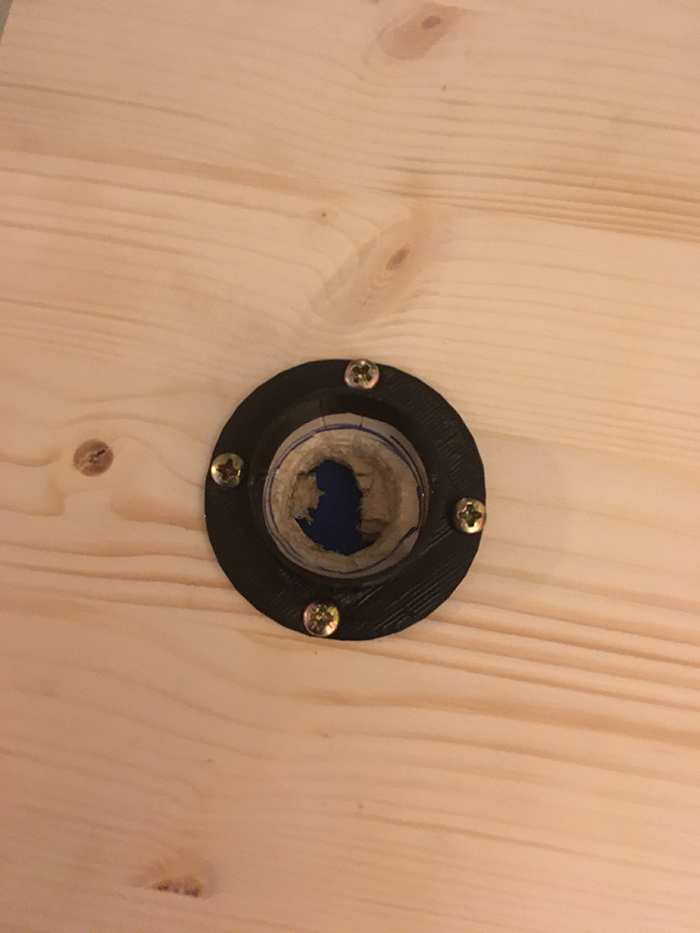
Vacuum cleaner connection at the bottom with a hole in the piece of wood.
The 3D printed face was placed in the vacuum fomer. A thermo plastic sheet was heated on a cooking pot on the stove for about 10 minutes. When it was sagging enough I placed it over the vacuum forming part. It was sucked the plastic nicely around the object. When I turned of the vacuum cleaner after a while I could remove the mould.
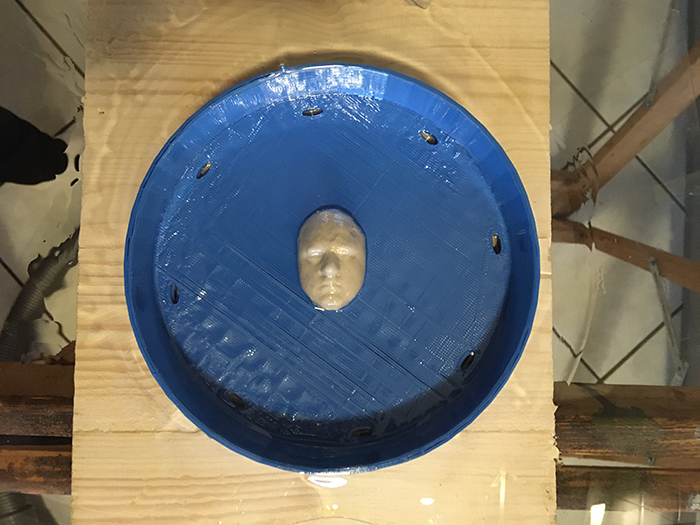
Vacuum forming in action. Melted thermoplastic sheet on the 3D printed face in the top part with the vacuum cleaner on. 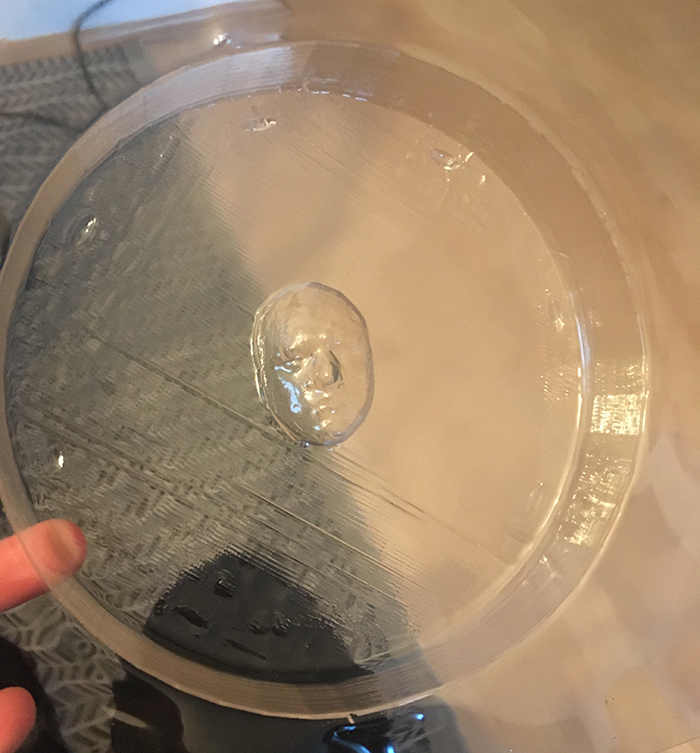
The result: the chocolate mould
Then I tempered the belgian chocolate. Every type of chocolate (dark, milk and white chocolate) needs a different temperature to crystallise and to handle. Too hot will “burn” the cocolate, too cold and it will not become solid and shiny. I filled the mould and let the chocolate set in the fridge. Getting the chocolates out of the moulds was not as easy as with professional polycarbonate moulds, but I managed.

